
Pineapple is one of those plants that looks complicated, but it’s actually very simple to grow at home. I started mine using pineapples I bought at the market and pups from an existing plant. In this post I’m sharing exactly what I did – a basic, practical guide from my own backyard in Jamaica.
1. What You’ll Need
- Pineapples you bought at the market (for the tops)
- Pineapple pups (if you have an existing plant)
- A small container or bowl for rooting in water
- Pots or a spot in the ground with good drainage
- Well-draining soil (not heavy mud)
- Scissors or a clean knife
- Water and sunlight
2. How I Prepared the Pineapple Tops
Here’s the exact method I used for the tops:
- I cut off the top of the pineapple, leaving a little flesh attached at first.
- I trimmed off most of the extra fruit from the base so it wouldn’t rot.
- I removed a few of the lower leaves to expose the small root buds around the stem.
- I left the tops to air-dry for about 1–2 days so the cut end could seal a bit before rooting.
3. Rooting the Tops in Water
Instead of putting the tops straight into soil, I rooted them in water first:
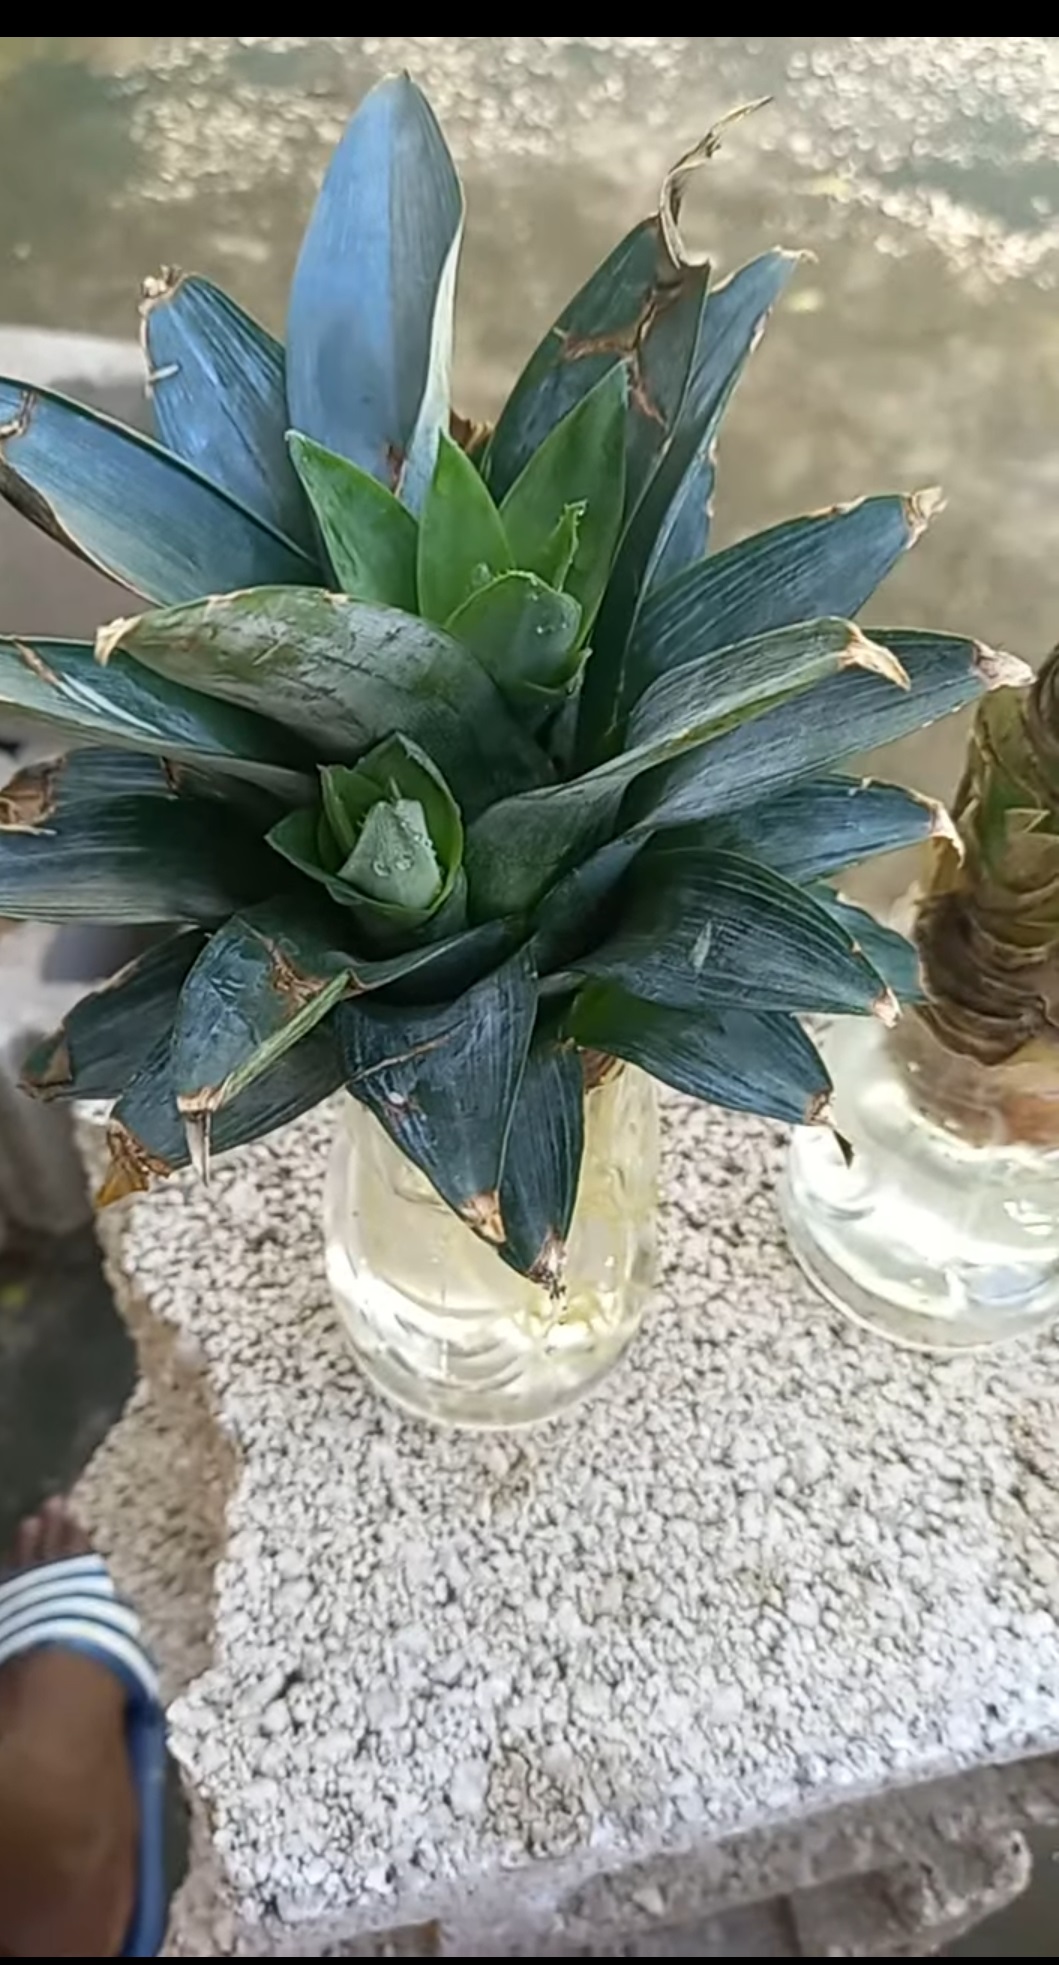
- I placed each top in a small container with water so that the very bottom of the stem was just touching the water, not fully covered.
- I left them like this for about two weeks.
- During that time, white roots started to grow from the base of the tops.
Once the roots were showing and looked strong, they were ready to plant.
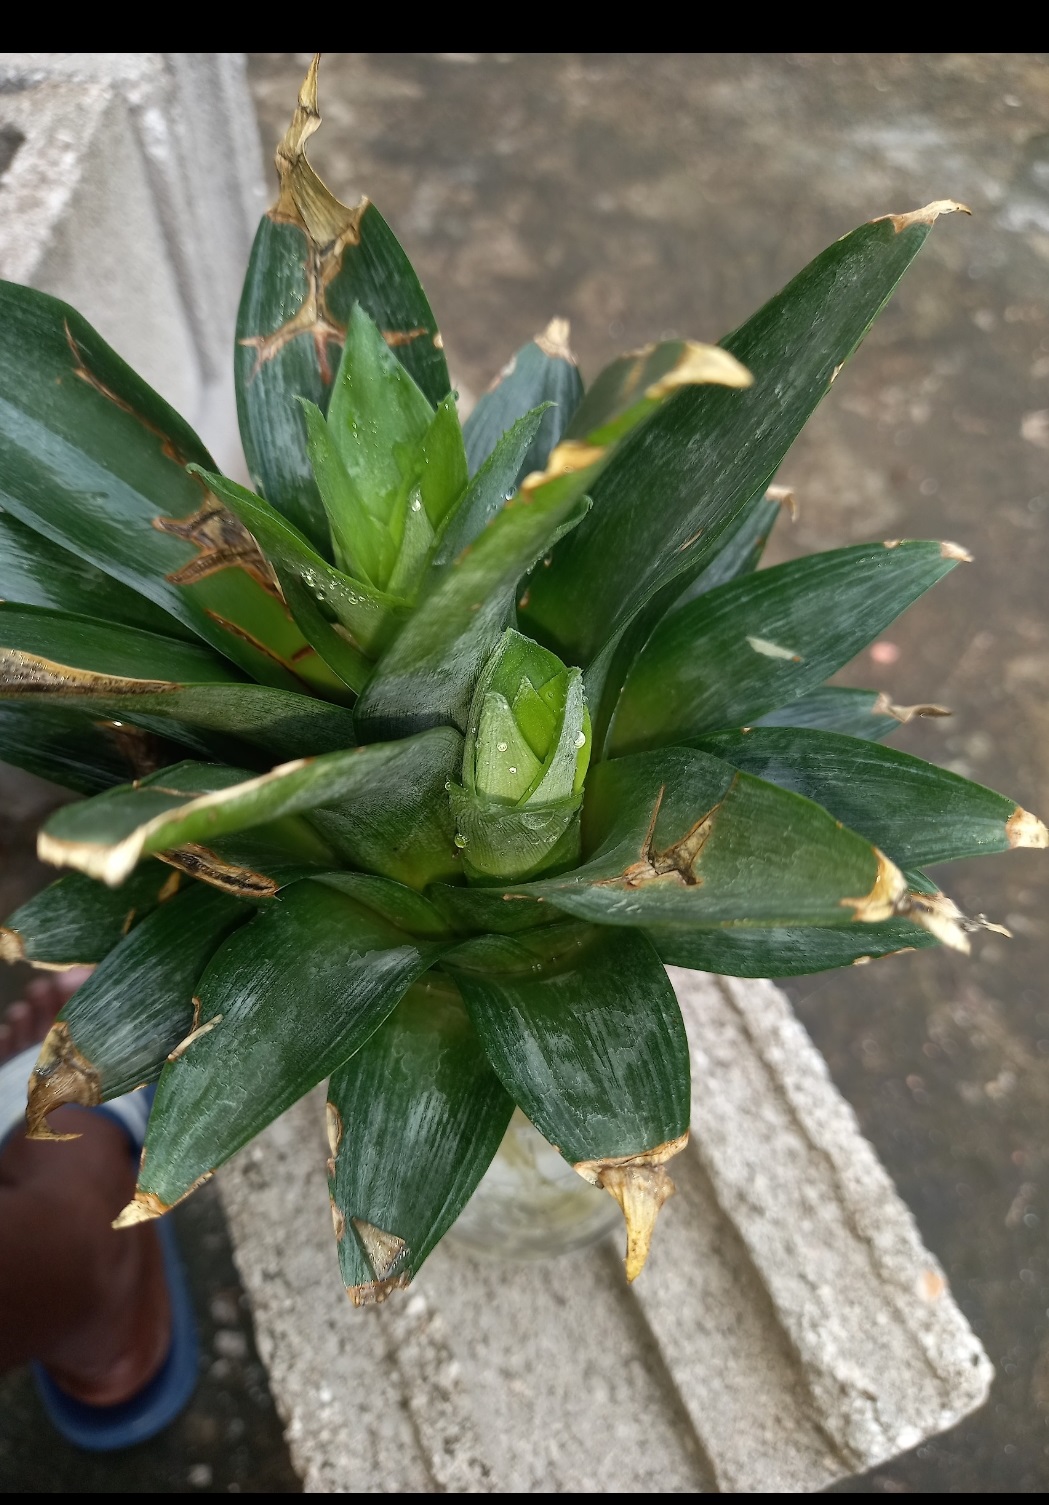
Pineapple top sitting in a small container with the stem just touching the water.
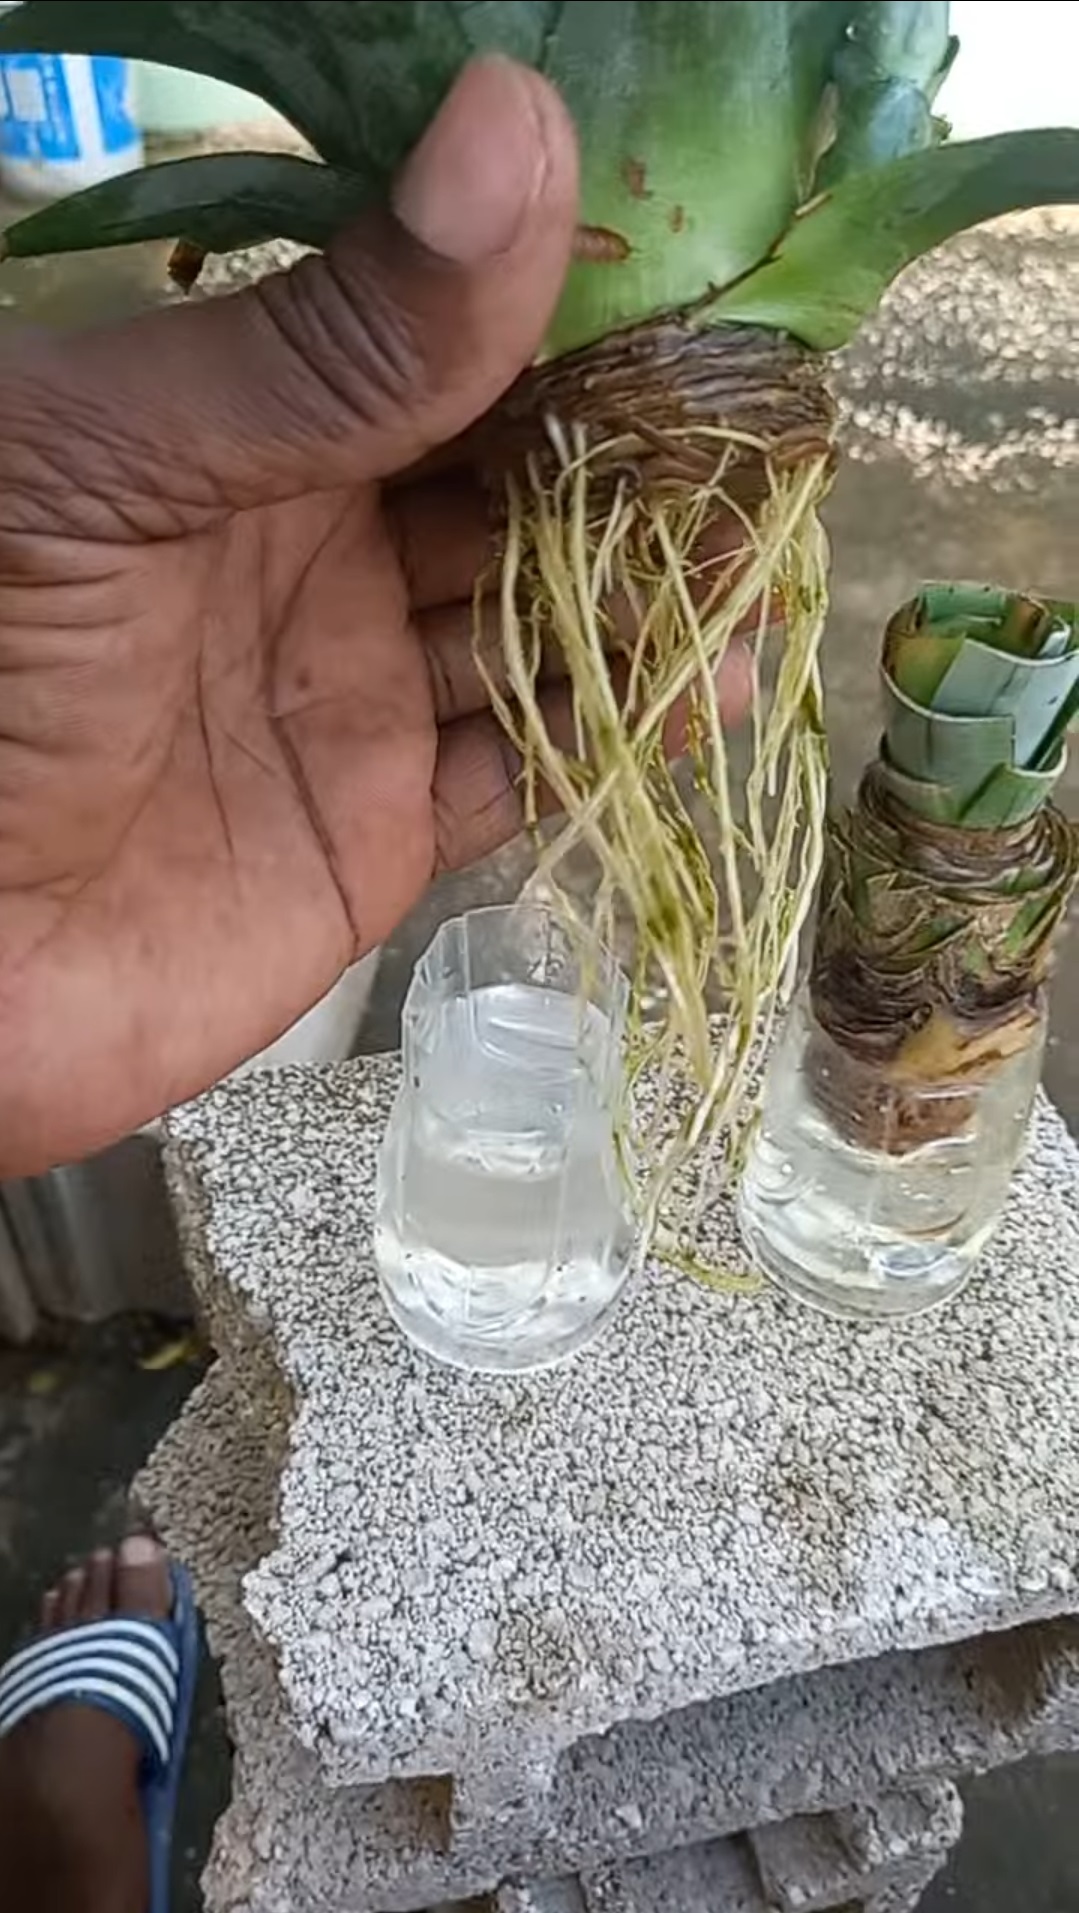
After about two weeks, roots started to grow from the base of the top.
4. Planting the Tops
When the roots grew, I planted three tops:
- Two tops near a wall in a shaded area
- One top in full sun
All of them are still alive, but the top that was planted in full sun has grown the strongest so far.
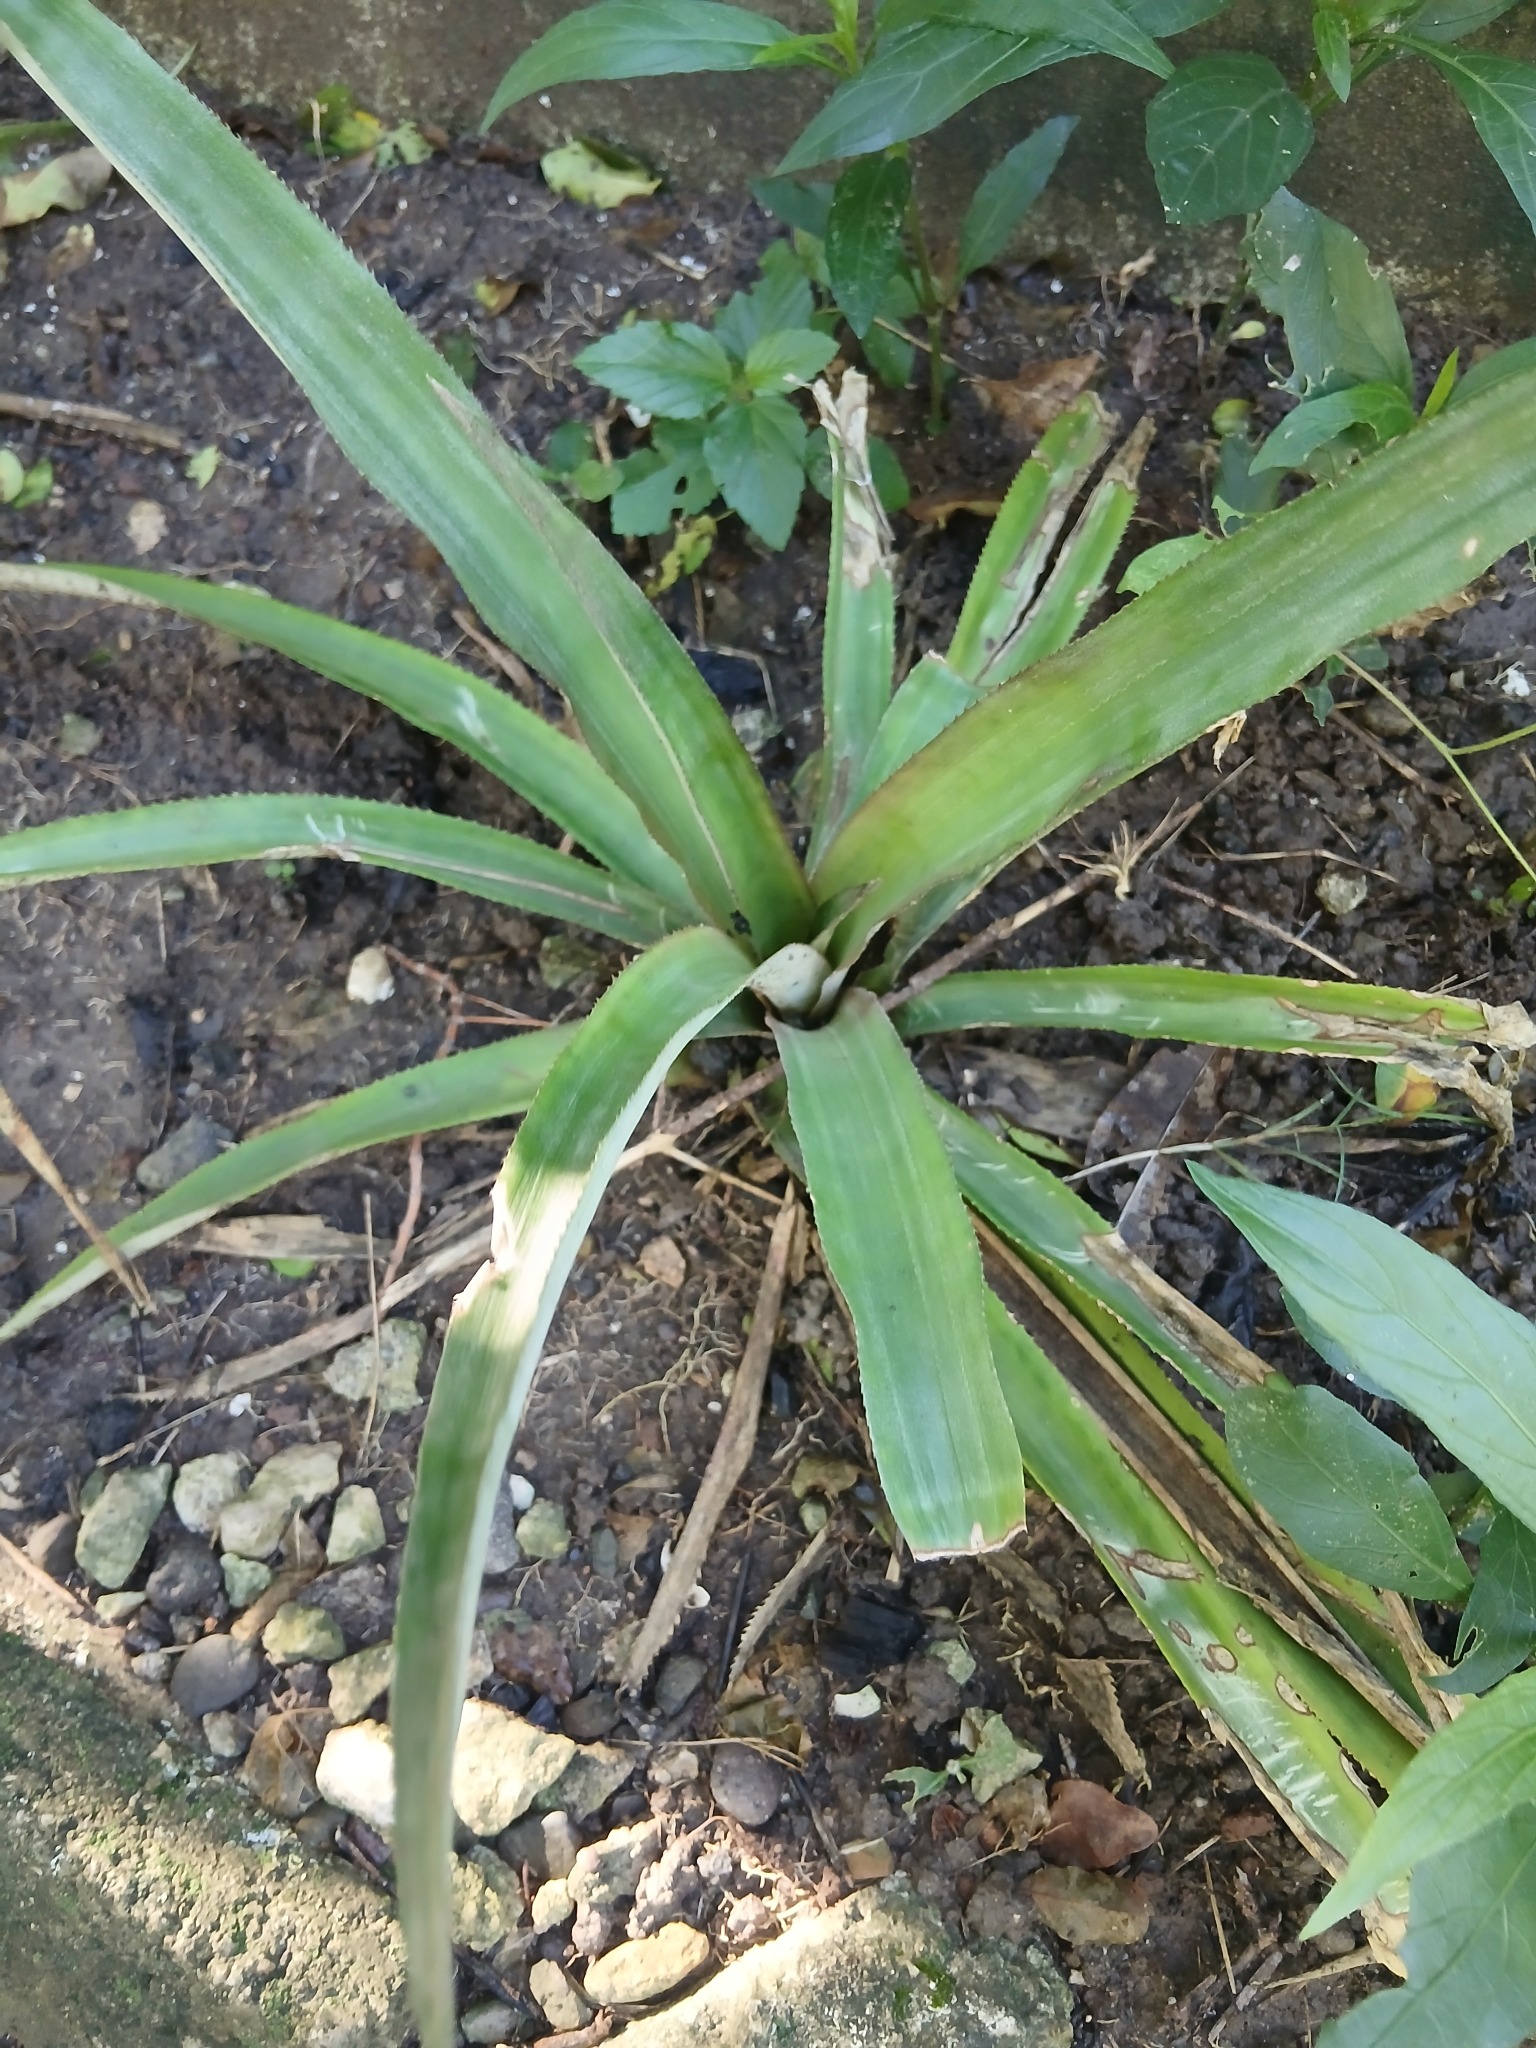
Pineapple tops planted near the wall in a more shaded spot.
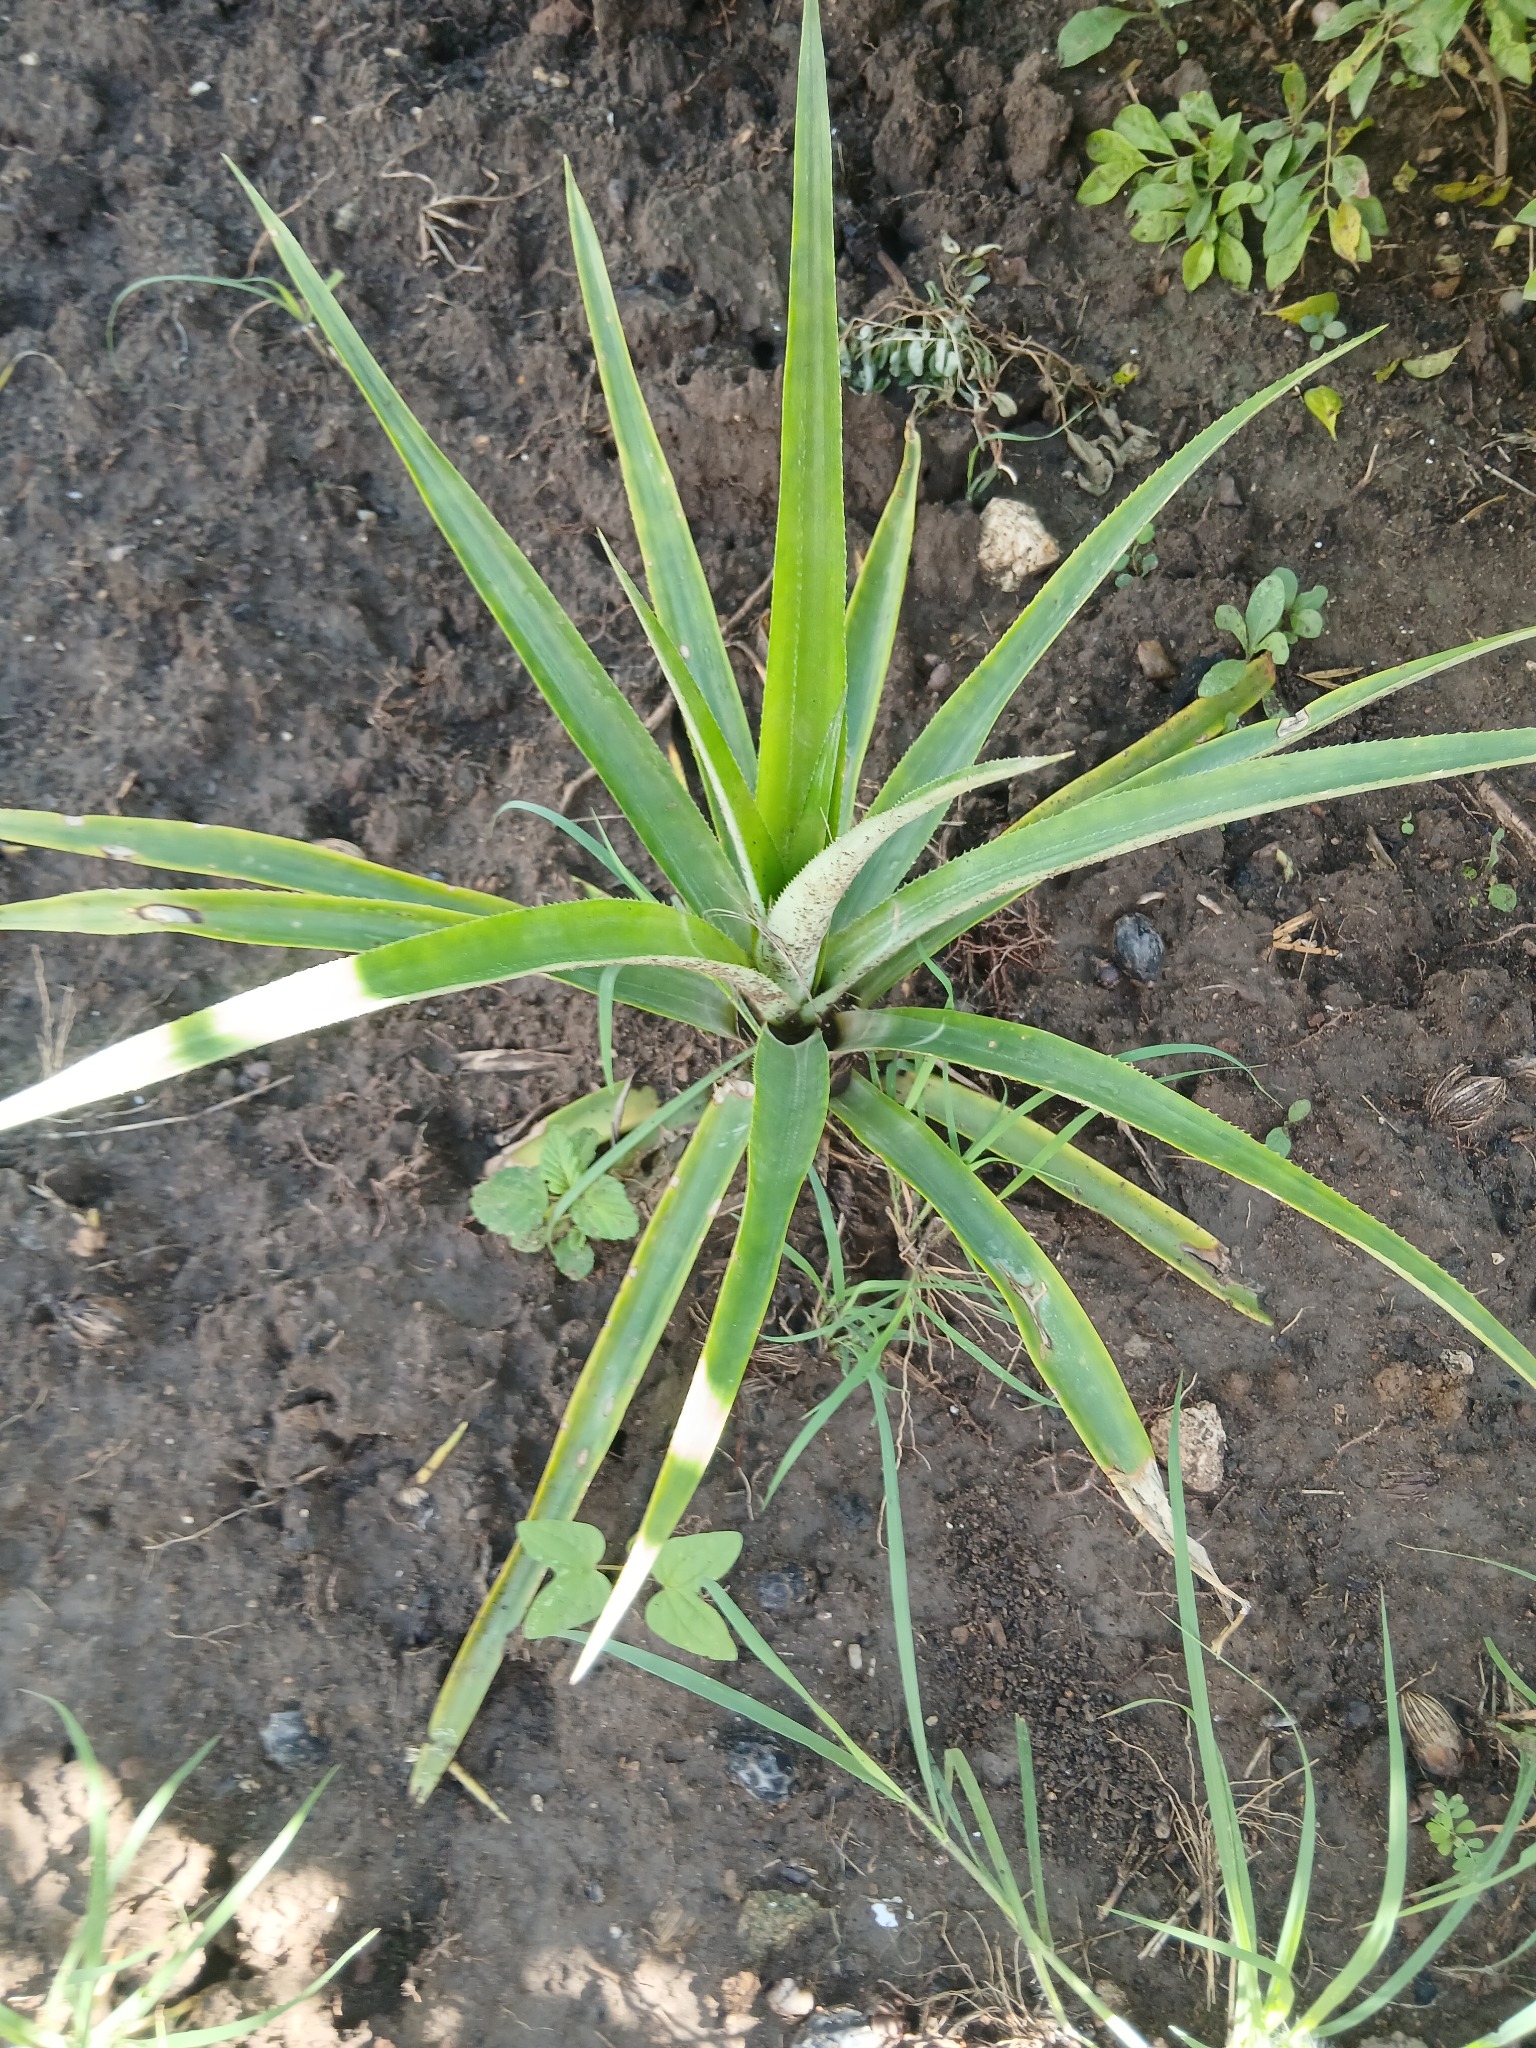
Pineapple tops planted in full sun – these are growing the strongest.
5. Planting Pineapple Pups
The pups already had a head start because they came from a mature plant.
- I gently removed the pups from the mother plant.
- I cleaned off any loose dry leaves at the base.
- I planted the pups in full sunlight, in soil that drains well.
They settled in quickly, started to push new leaves, and from what I’ve seen, the pups grow faster than the tops.
Pineapple pups removed from the mother plant, ready for planting.
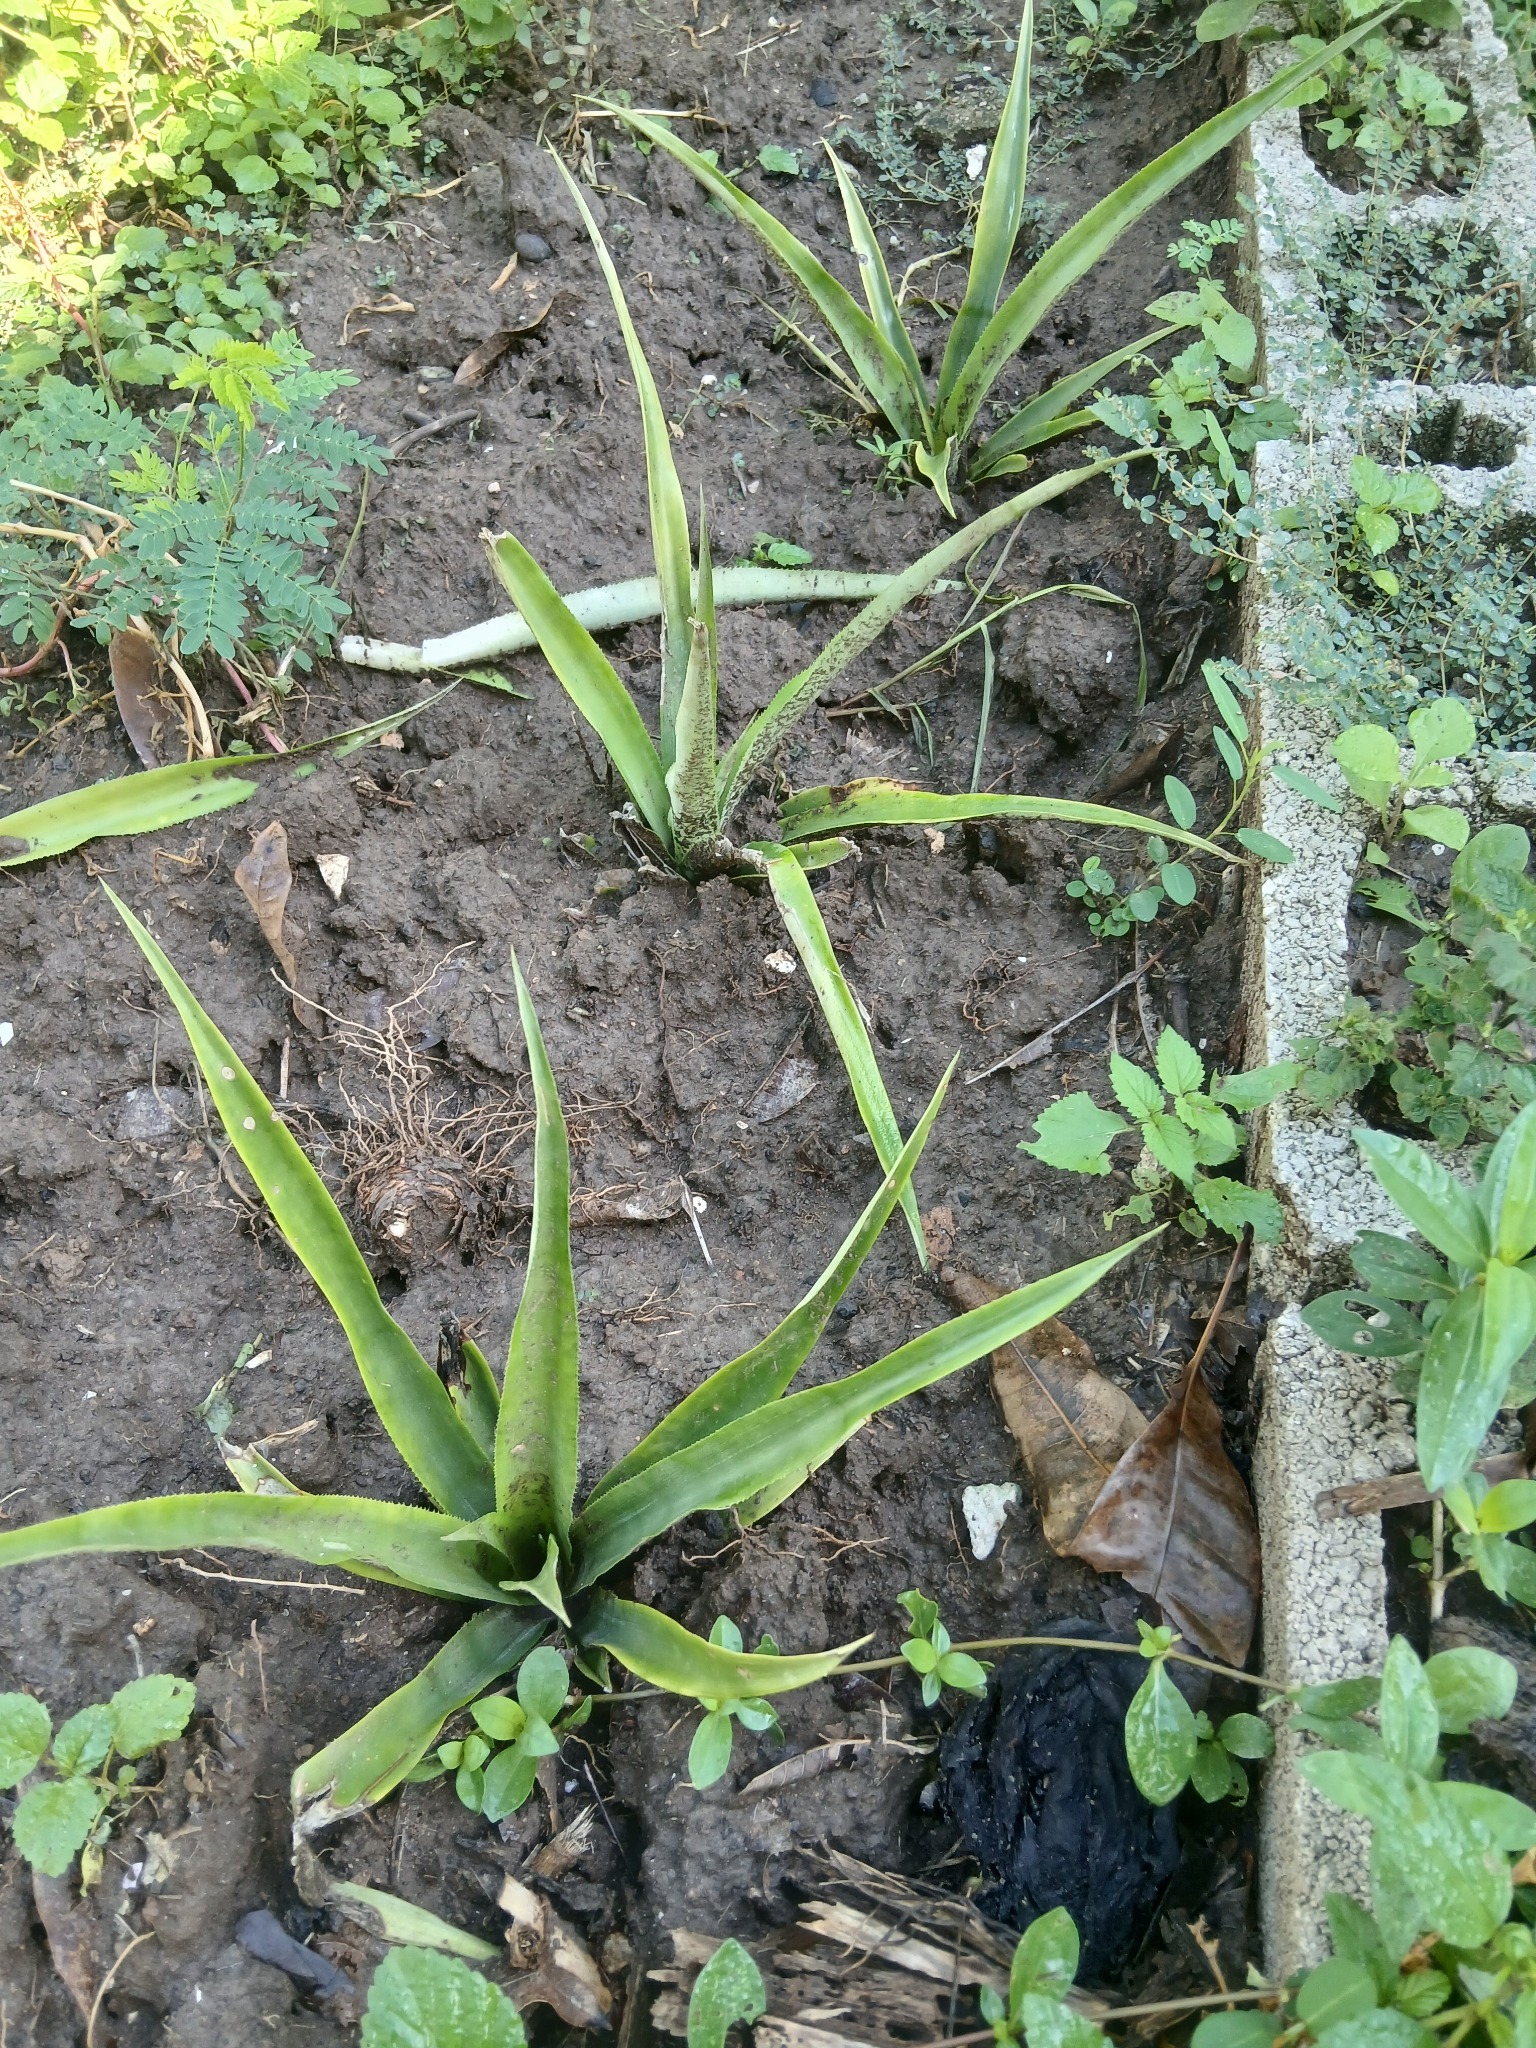
Pineapple plants growing from pups in full sun.
6. Sunlight & Watering
From my experience so far:
- Pineapples love sun – the plants in full sun look stronger than the ones in shade.
- I water when the soil starts to look dry, but I avoid soaking the soil.
- Pineapples don’t like to sit in heavy, waterlogged soil. Slightly moist and well-draining works best.
7. Fertilizing (20-20-20)
To help them grow, I use a 20-20-20 water-soluble fertilizer.
At first, I used it about every three months, but I later found out that, because it is water-soluble, it can be mixed with water and used more often in smaller amounts, depending on the product instructions.
Right now my routine is simple:
- Mix a small amount of 20-20-20 fertilizer in water according to the label.
- Use it lightly around the plants.
- Avoid over-fertilizing – pineapples grow slowly, so they don’t need a heavy feed all the time.
8. Watch: My Pineapple Planting Video
I also did a short video where I show parts of this process in a simple way.
Recommended Products You Can Try
If you’re getting started with pineapples and other plants, here are some helpful options you can click on the link and check out these products on Amazon:
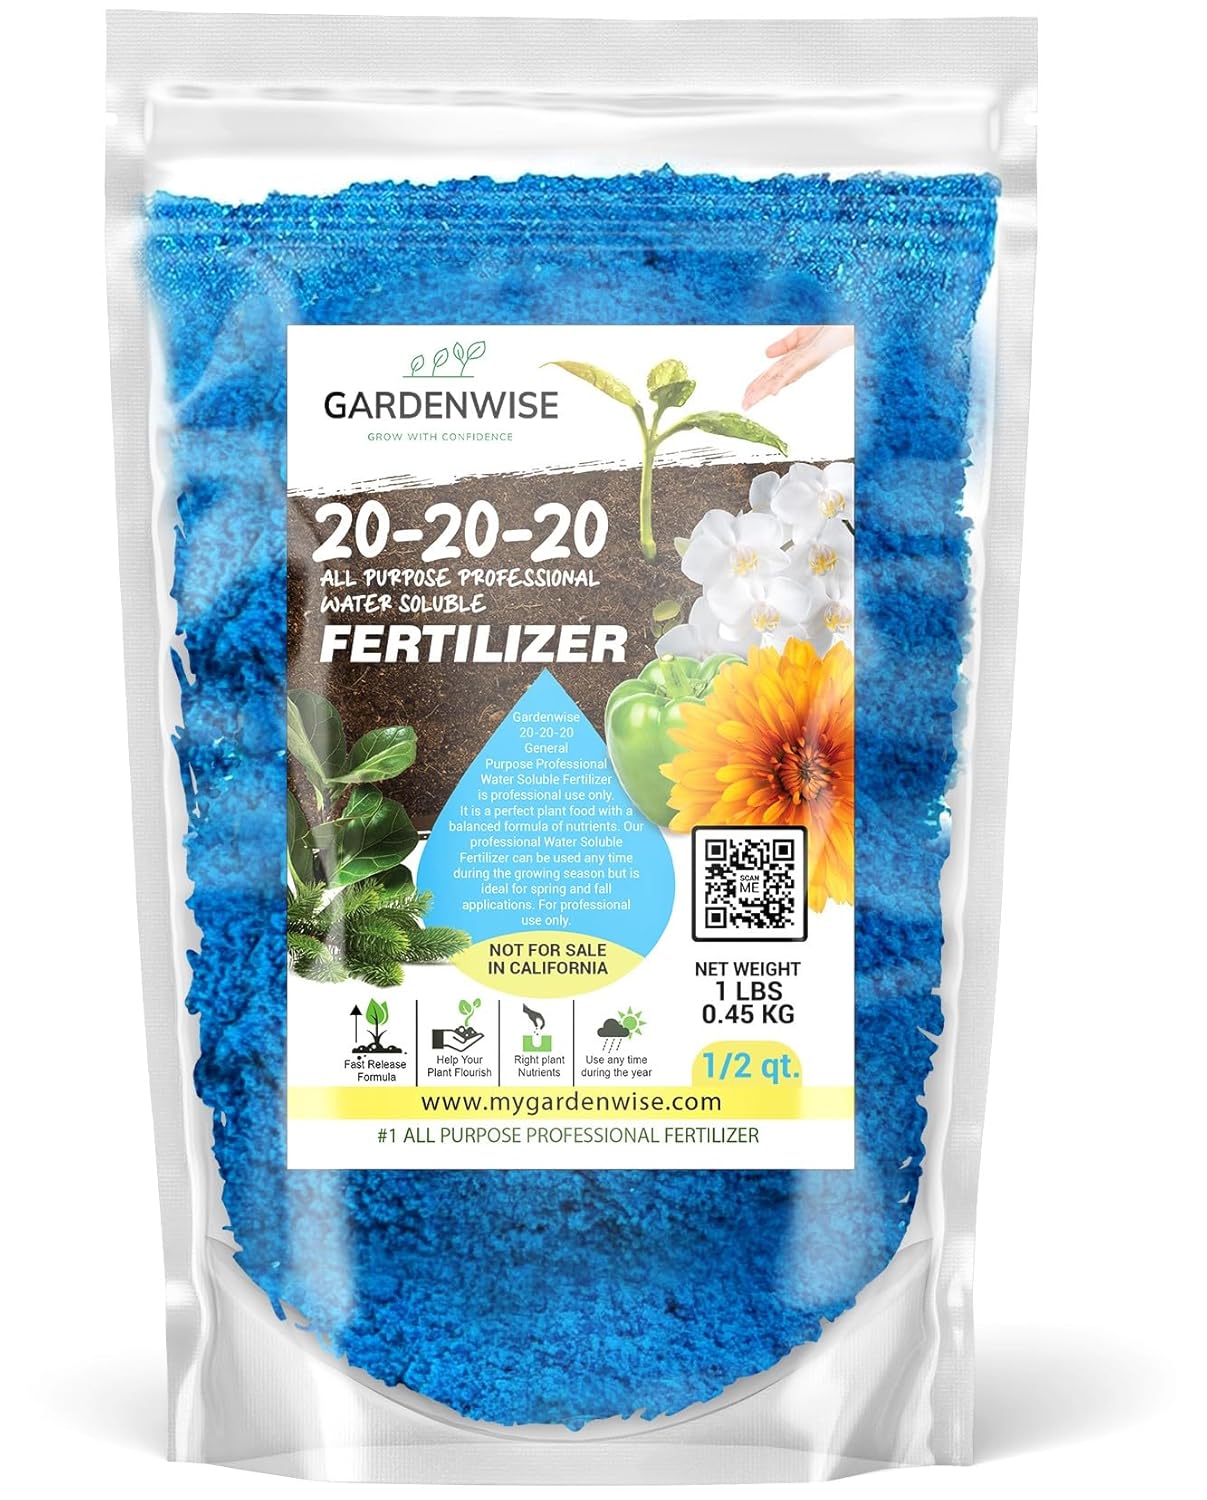
A balanced fertilizer that mixes easily with water. You can use a light solution every few weeks
to support steady growth in pineapples and other plants.
🔗 Click on the link and check out these products
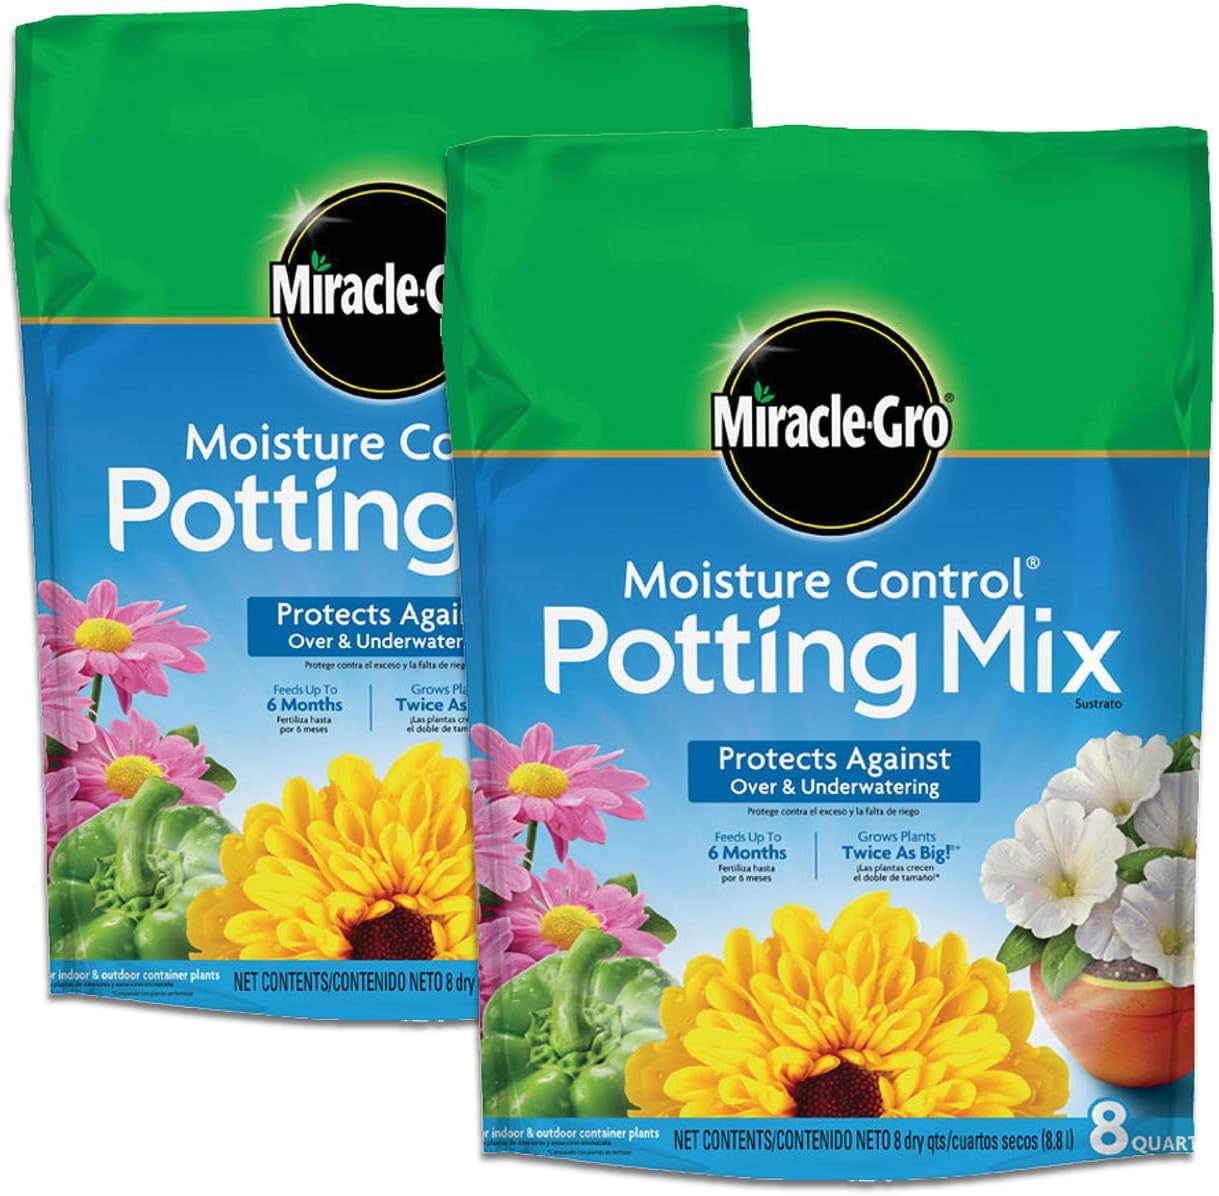
Good for container planting or spots where the soil holds too much water. This mix helps protect
against over- and underwatering, which is useful for pineapples in pots or buckets.
🔗 Click on the link and check out these products
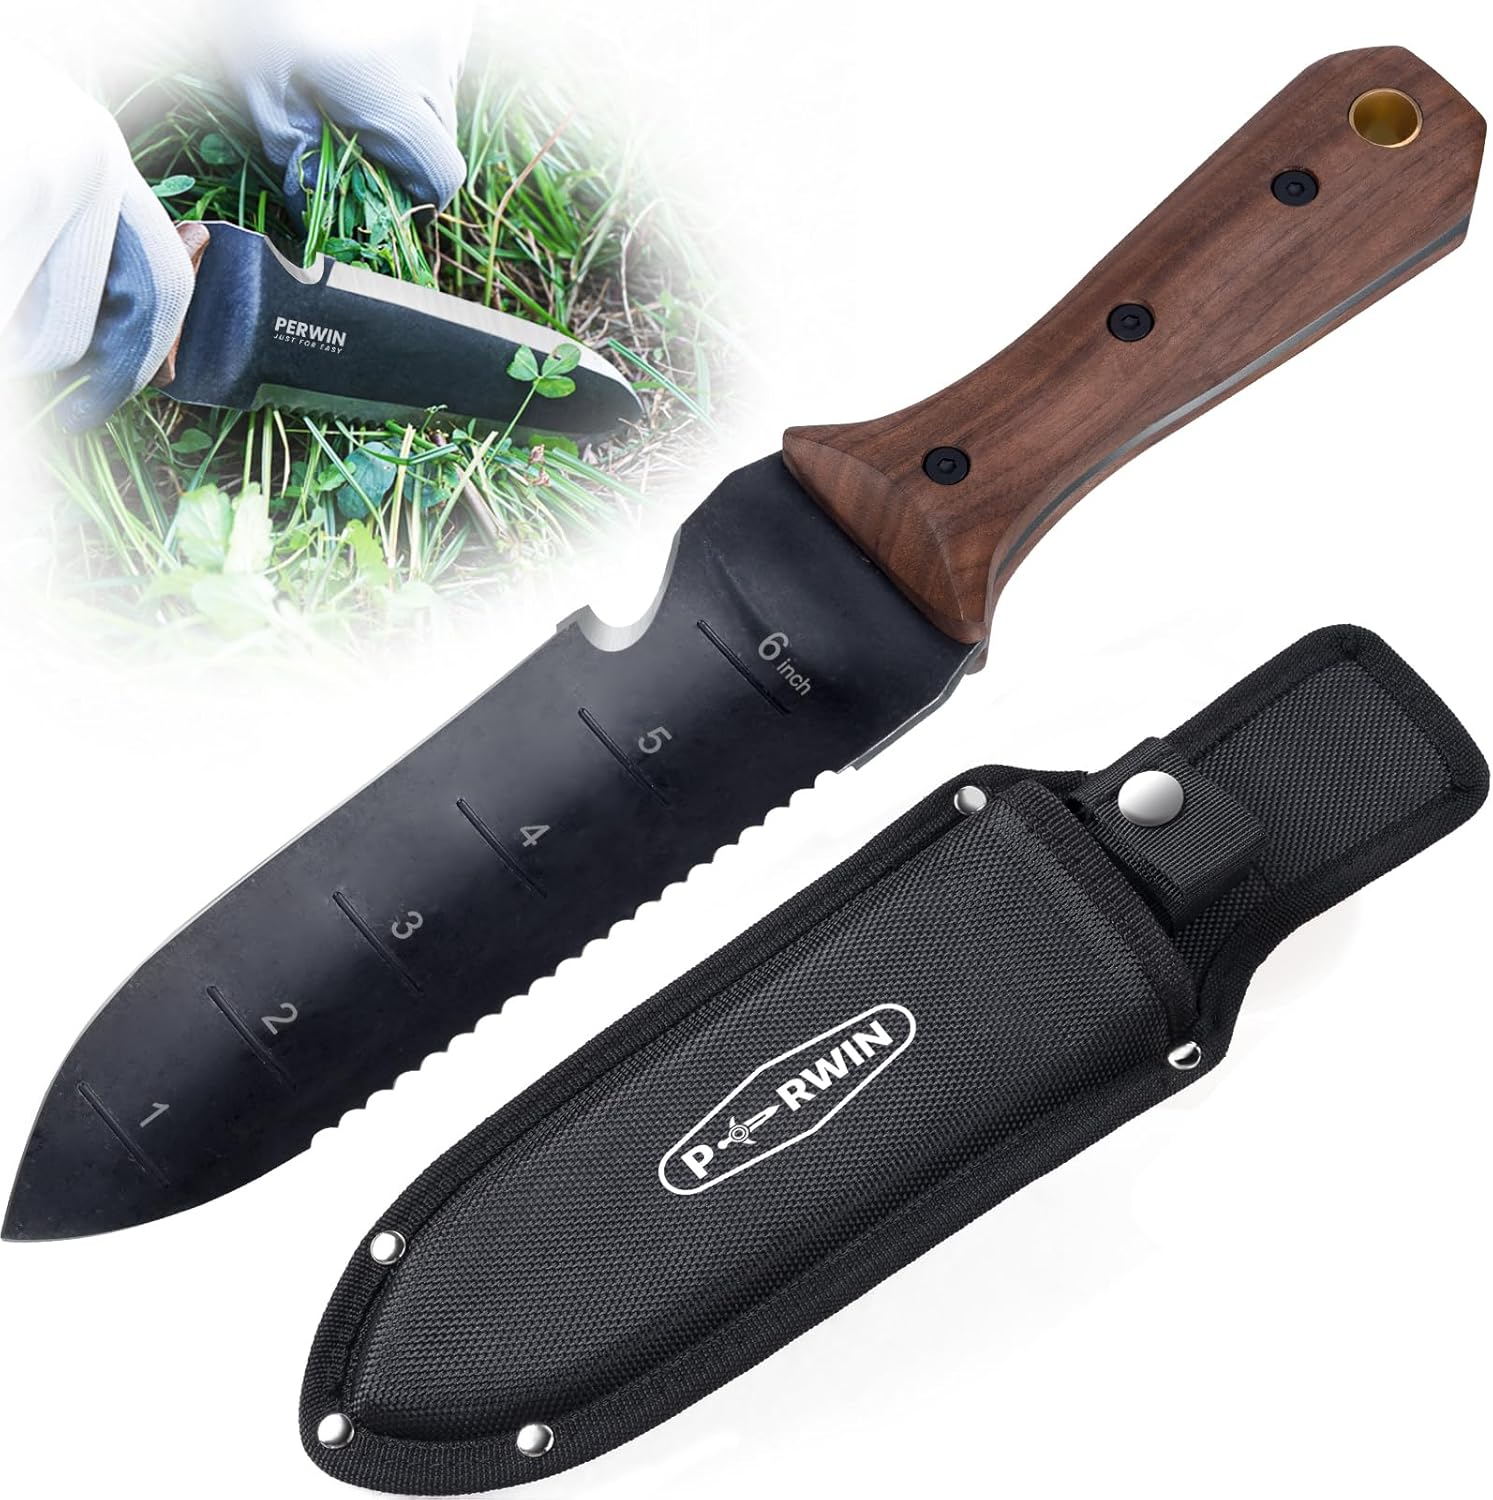
A strong multi-purpose garden knife that can dig holes, cut roots, divide plants and help when
planting pups or moving pineapple tops.
🔗 Click on the link and check out these products
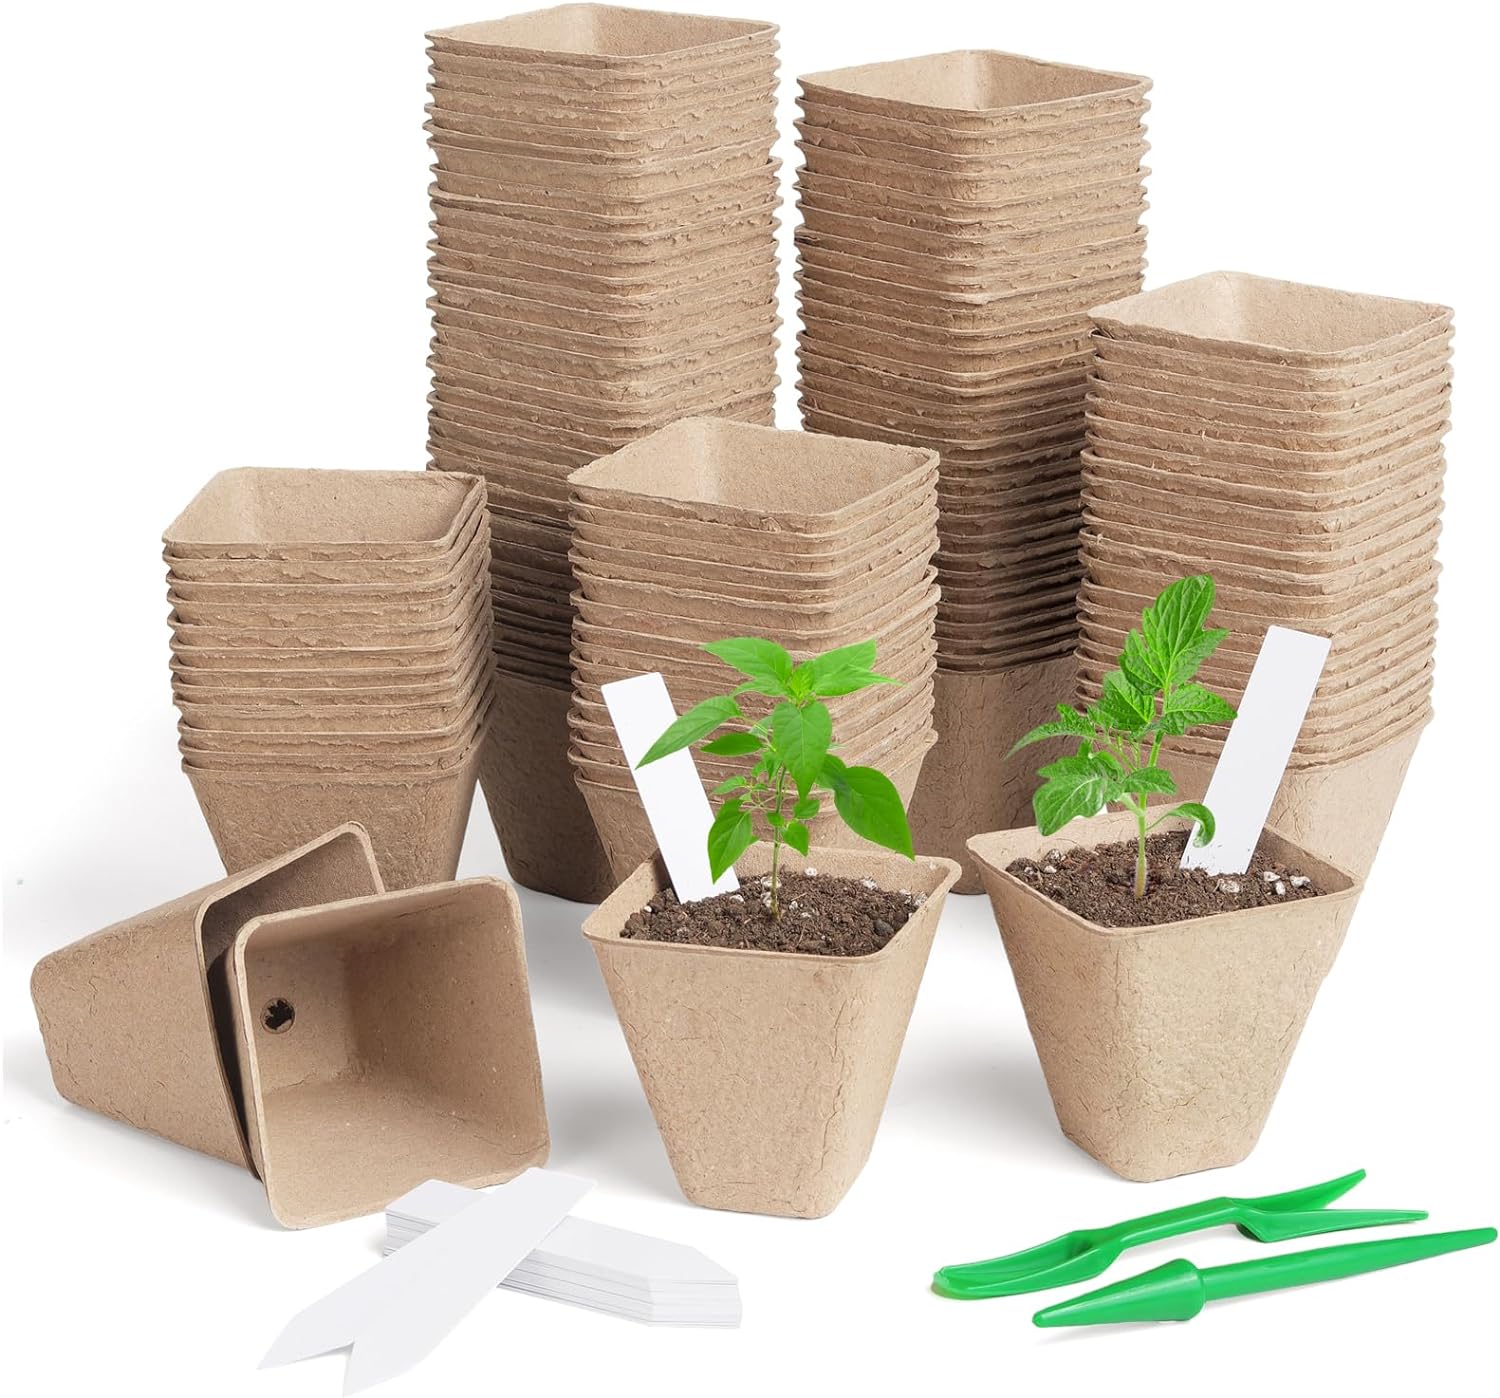
Handy for starting other plants or herbs alongside your pineapples. You can plant the whole pot
directly into the soil, and the labels help you remember what you planted.
🔗 Click on the link and check out these products
Disclosure: As an Amazon Associate I earn from qualifying purchases. #ads